💡 Getting started
Oscillating circuit
The ElectroLab is a board that needs no further setups or configuration besides the initial assembly of its components.
Once you have it in your hands, the only thing you will need to have some fun is a micro-USB to power it and some Dupont wires.
🎓How it works?
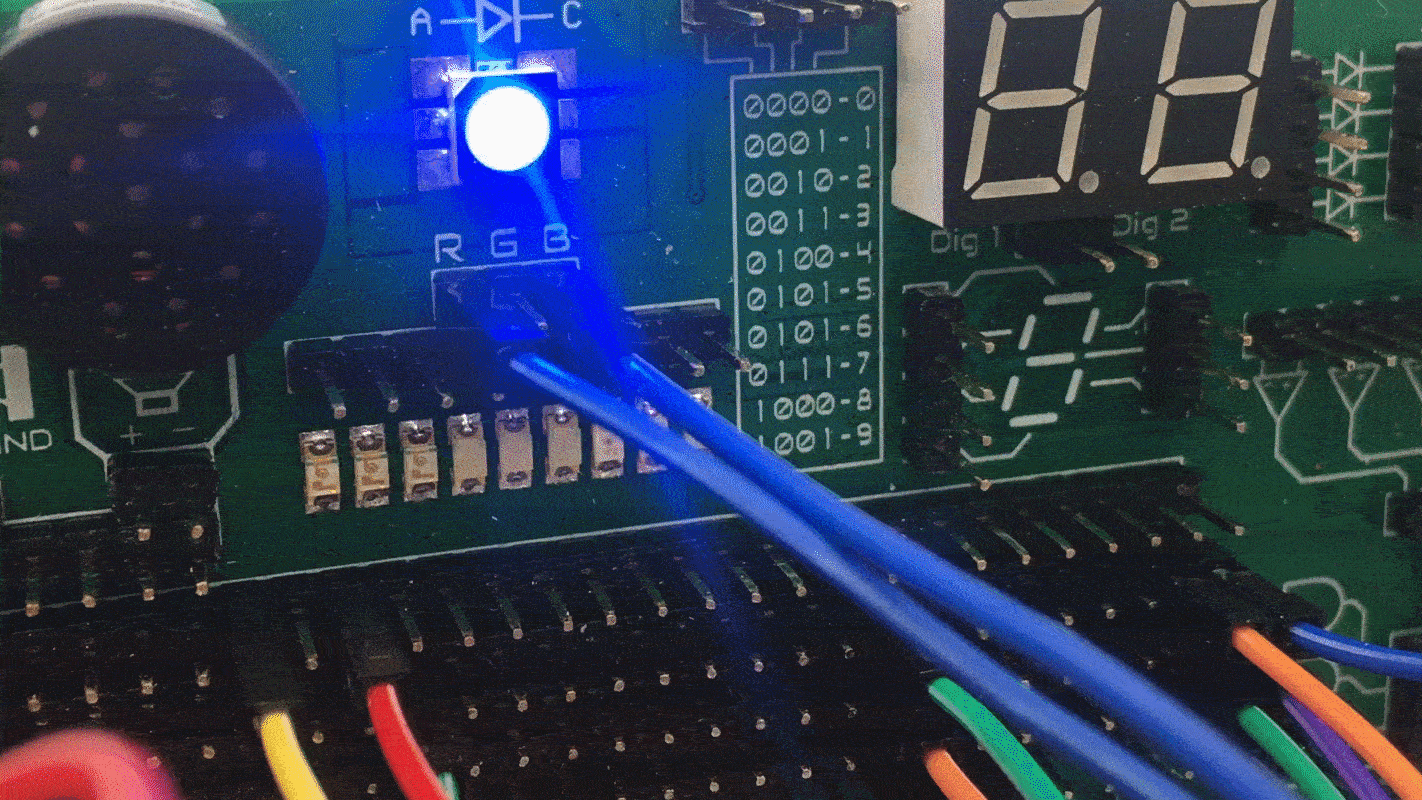
On the ElectroLab, each component is internally powered and it’s I/O are already routed to an accessible pinhead. This makes it very easy the quick prototyping of electronic circuits since you just need to interconnect them with female-female wires.
While working with the ElectroLab, make sure you follow this steps:
✅ Analyze and understand the schematic you want to assembly with the ElectroLab
✅ Check if you will be using polarized components (like the polarized capacitors or the microphone) for paying extra attention.
✅ Before plugging or unplugging any jumper wires, make sure the board is turned off:
If you are using the USB power, the switch has to be in position AUX and the USB cable disconnected.
In case you are powering it from the Auxiliar interface, the switch has to be in position USB and nothing is connected to the Auxiliar Interface connector.
✅ Assembly the circuit following a known order, it will save you time in case you get lost.
✅ Check that there are not any wire connecting 5V to GND.
✅ Connect the USB cable or the Auxiliar Interface in order to power the board.
✅ Toggle the switch and check that the power led turns on.
✅ Play with your recently assembled circuit and experiment with safety!
Caution
If the Power LED indicator doesn’t turn on, power off the board and check the circuit: you might have a shortcircuit somewhere!