💡 Getting started
Oscillating circuit
The ElectroLab board is being sold as a kit, which means that you will need to assemble (and solder) it. The first thing to do once you receive your kit, is making sure you find all the components included:
ElectroLab board (green PCB)
Stencil board (purple PCB)
Female-to-female jumper boards (pack of 40)
THT components:
2x Rotary potentiometers
1x Linear potentiometer
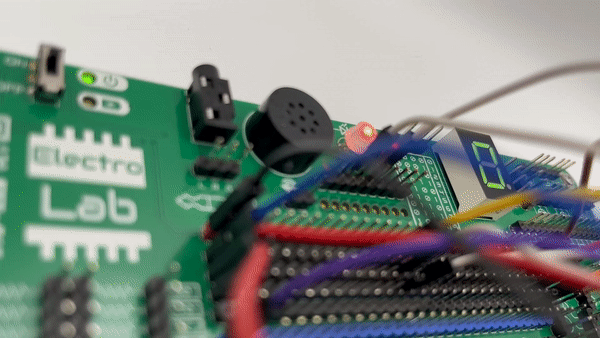
1x Speaker
1x 7 segments display
1x RGB led
1x Slide switch
1x USB-C connector
1x NTC thermistor
1x LDR photoresistor
1x Microphone
9x Pushbutton
1x 3.5mm jack connector
1x MQ-2 gas sensor
1x Blue header
1x Red header
10x Black header
and optionally you could have acquired:
A 1000mAh LiPo battery
A protection enclosure consisting on:
3 transparent acrylic plates
4 screws set (screw, washer & nut)
After assembling it (visit the 🛠 Assembly section), you will be able to make your own circuits or start exploring the ones on the 🚀 Learning electronics section.
🎓How it works?
On the ElectroLab, each component is internally powered and it’s I/O are already routed to an accessible pinhead. This makes it very easy the quick prototyping of electronic circuits since you just need to interconnect them with female-female wires.
While working with the ElectroLab, make sure you follow this steps:
✅ Analyze and understand the schematic you want to assembly with the ElectroLab
✅ Check if you will be using polarized components (like the polarized capacitors or the microphone) for paying extra attention.
✅ Before plugging or unplugging any jumper wires, make sure the board is turned off:
✅ Assembly the circuit following a known order, it will save you time in case you get lost.
✅ Check that there are not any wire connecting 3.3V to GND.
✅ Connect the USB cable or the Auxiliar Interface in order to power the board.
✅ Toggle the switch and check that the power led turns on.
✅ Play with your recently assembled circuit and experiment with safety!
Caution
If the Power LED indicator doesn’t turn on, power off the board and check the circuit: you might have a shortcircuit somewhere!